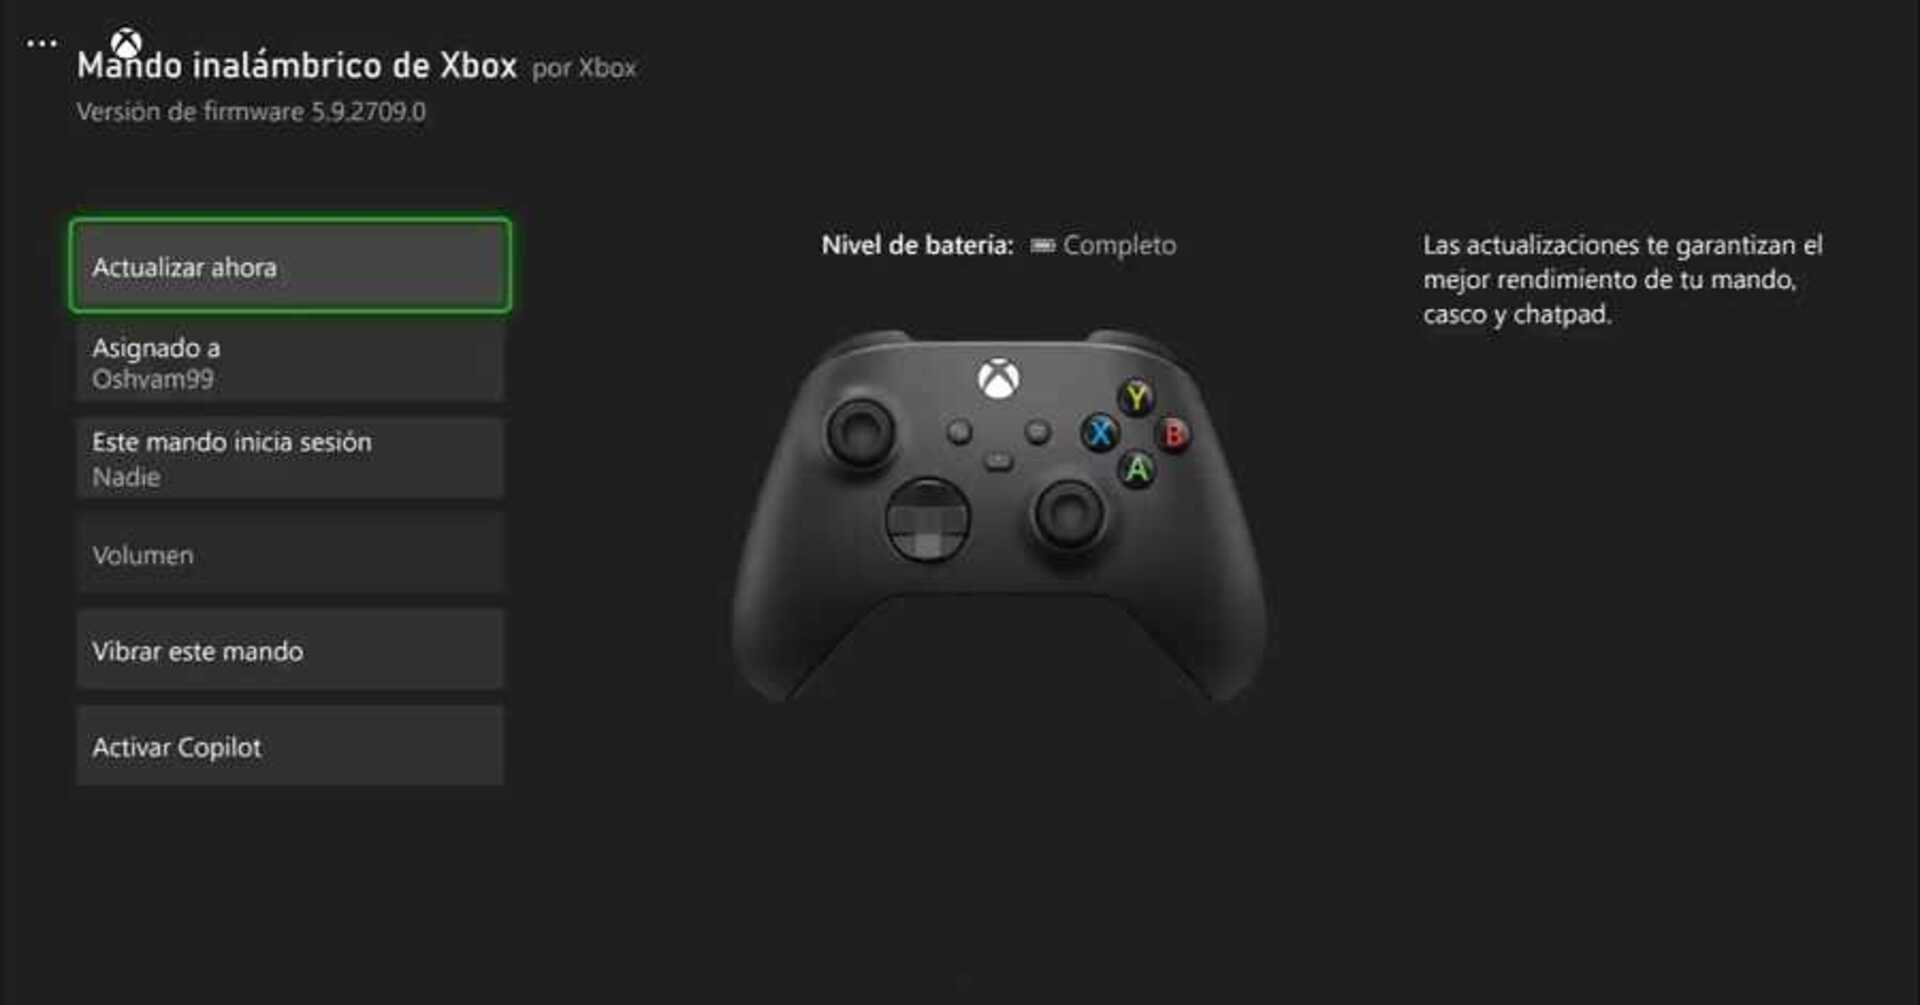
Update your Xbox Series X|S manually if it won't start or gives errors after an update.
More stories in the category Updates
- Forza Horizon 5 on PC starts without text in menus and you can’t play, we show you how to fix it
- Finally in Latin Spanish: Resident Evil Village and Resident Evil 4 Remake premiere dubbing
- Call of Duty: Black Ops 7 is gearing up for season 2 with all this new content
| Don't miss anything and follow us on Google News! |
Update your Xbox Series with a USB is a useful option when the system cannot connect to the internet, has suffered a failure during a previous installation or simply gets stuck on a black screen. It’s an official method provided by Microsoft and can help you recover the console without losing your data if everything goes well.
Although it’s not necessary in most situations, this manual update is crucial when errors like E101 or E106 appear, or if the console fails to start correctly after a system update. Here, we’ll explain step by step how to do it and in what cases it can be the ideal solution.
When updating Xbox Series with a USB can be the best option
This procedure is intended for situations where the console cannot be updated in the usual way. Some common examples where it may be essential:
-
Error during an automatic update, which prevents the process from being completed
-
Console stuck on a black screen or with boot loops
-
Errors like E101, E102, E106, or E200, displayed on the recovery screen
-
Unable to connect to the internet or persistent network failure
-
Restoring a refurbished console or after a disk replacement
-
Installing a clean version of the system to resolve critical failures
The USB update uses the OSU1 file provided by Microsoft from its official page and can restore the system without needing an online connection. The process does not delete your data, although if combined with a complete factory reset, it will be lost.
How to update your Xbox Series with USB step by step
Follow these steps carefully to update your console safely:
1. Basic requirements
-
A PC with Windows and internet access
-
A USB with at least 8 GB formatted in NTFS
-
The console must be able to access recovery mode (Troubleshoot)
2. Download the OSU1 file
-
Access the official Xbox support website: from here
-
Download the
.zipfile called OSU1 -
Extract its contents. You will get a folder called
$SystemUpdate
3. Prepare the USB
-
Connect the USB to the PC
-
Right-click on it and choose Format > NTFS > Start
-
Once formatted, copy the
$SystemUpdatefolder directly to the root directory of the USB (not inside any other folder)
4. Start the console in recovery mode
-
Turn off the console completely
-
Press and hold the Bind (pairing button) and Eject (eject button)
-
On Xbox Series S, only press Bind (it doesn’t have Eject)
-
-
While holding those buttons, press the power button once
-
Wait to hear two beeps (after about 10-15 seconds)
-
Release the buttons: the Troubleshoot screen will appear
5. Perform the update
-
Connect the USB to the console
-
Select the “Offline System Update” (Offline System Update) option
-
The system will automatically detect the
$SystemUpdatefolder and start the process
6. Restart and completion
-
The console will restart several times during the update
-
When finished, it will start normally and will be updated
-
If the failure was due to a software error, it should have been resolved
Final tips and warnings
-
Make sure the USB is properly formatted and there are no additional folders
-
Do not turn off the console or remove the USB during installation
-
This process does not delete data, unless you decide to do a factory reset
-
If the problem persists after the update, you can try the “Reset this Xbox” option from the same recovery menu
This method is safe and official, but it’s crucial to follow all the steps to the letter for it to work correctly. If you do everything as indicated, you’ll be able to recover or update your console without complications.


